Your Gateway to Crypto Insights & Data Innovation
Live markets, expert predictions, and the cloud-data backbone that powers them.
Read the News FeedBTC
$59,748
-3.10%
ETH
$1,555.15
-5.50%
XRP
$1.032
-4.37%
SOL
$69.25
0.58%
From Our Blog

Uncategorized
Myro ($MYRO) Price Prediction 2024-2026: What's Next for MYRO?
Jun 29, 2026

Uncategorized
RETARDIO Price Prediction 2024: Will It Reach $0.001?
Jun 29, 2026

Spreadsheets
Unlocking the Power of Enterprise-Level Data Storage Platforms
Jun 29, 2026

Uncategorized
OSAK Price Forecast 2024: Will Osaka Protocol Hit $4 in 2025?
Jun 29, 2026
Uncategorized
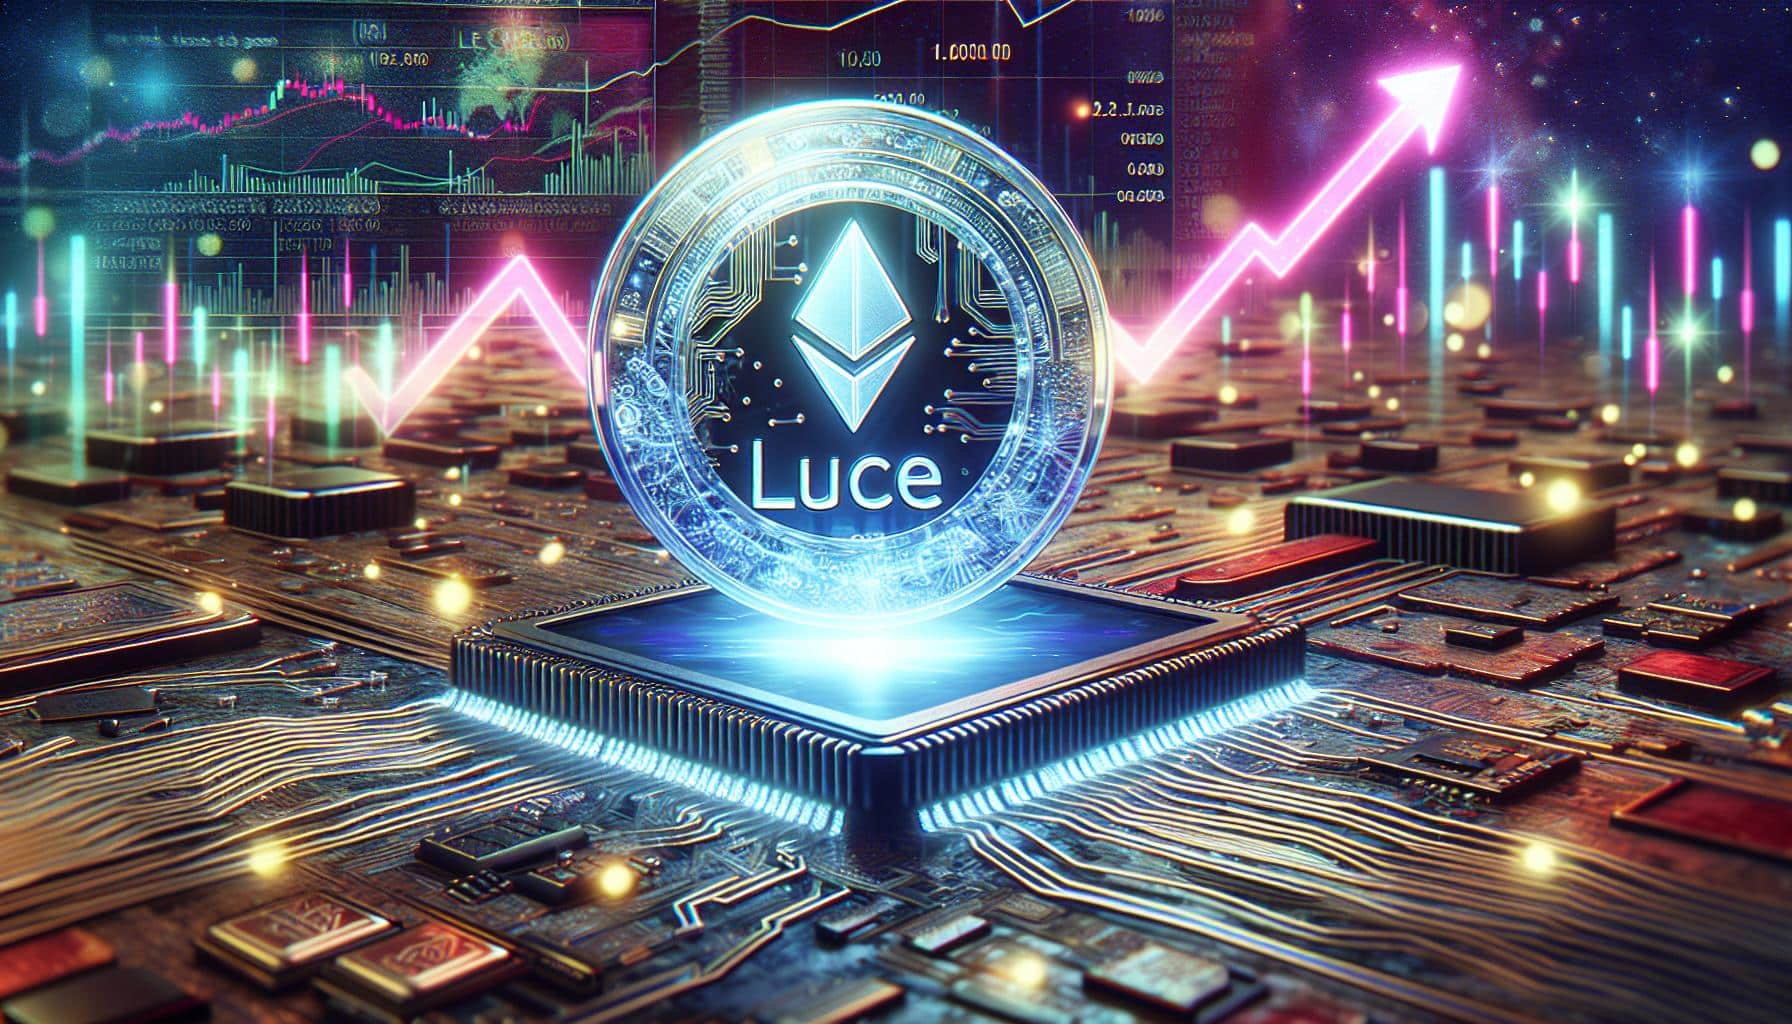
Luce (LUCE) Price Prediction 2024-2030: Expert Analysis & Outlook
Jun 29, 2026
Uncategorized
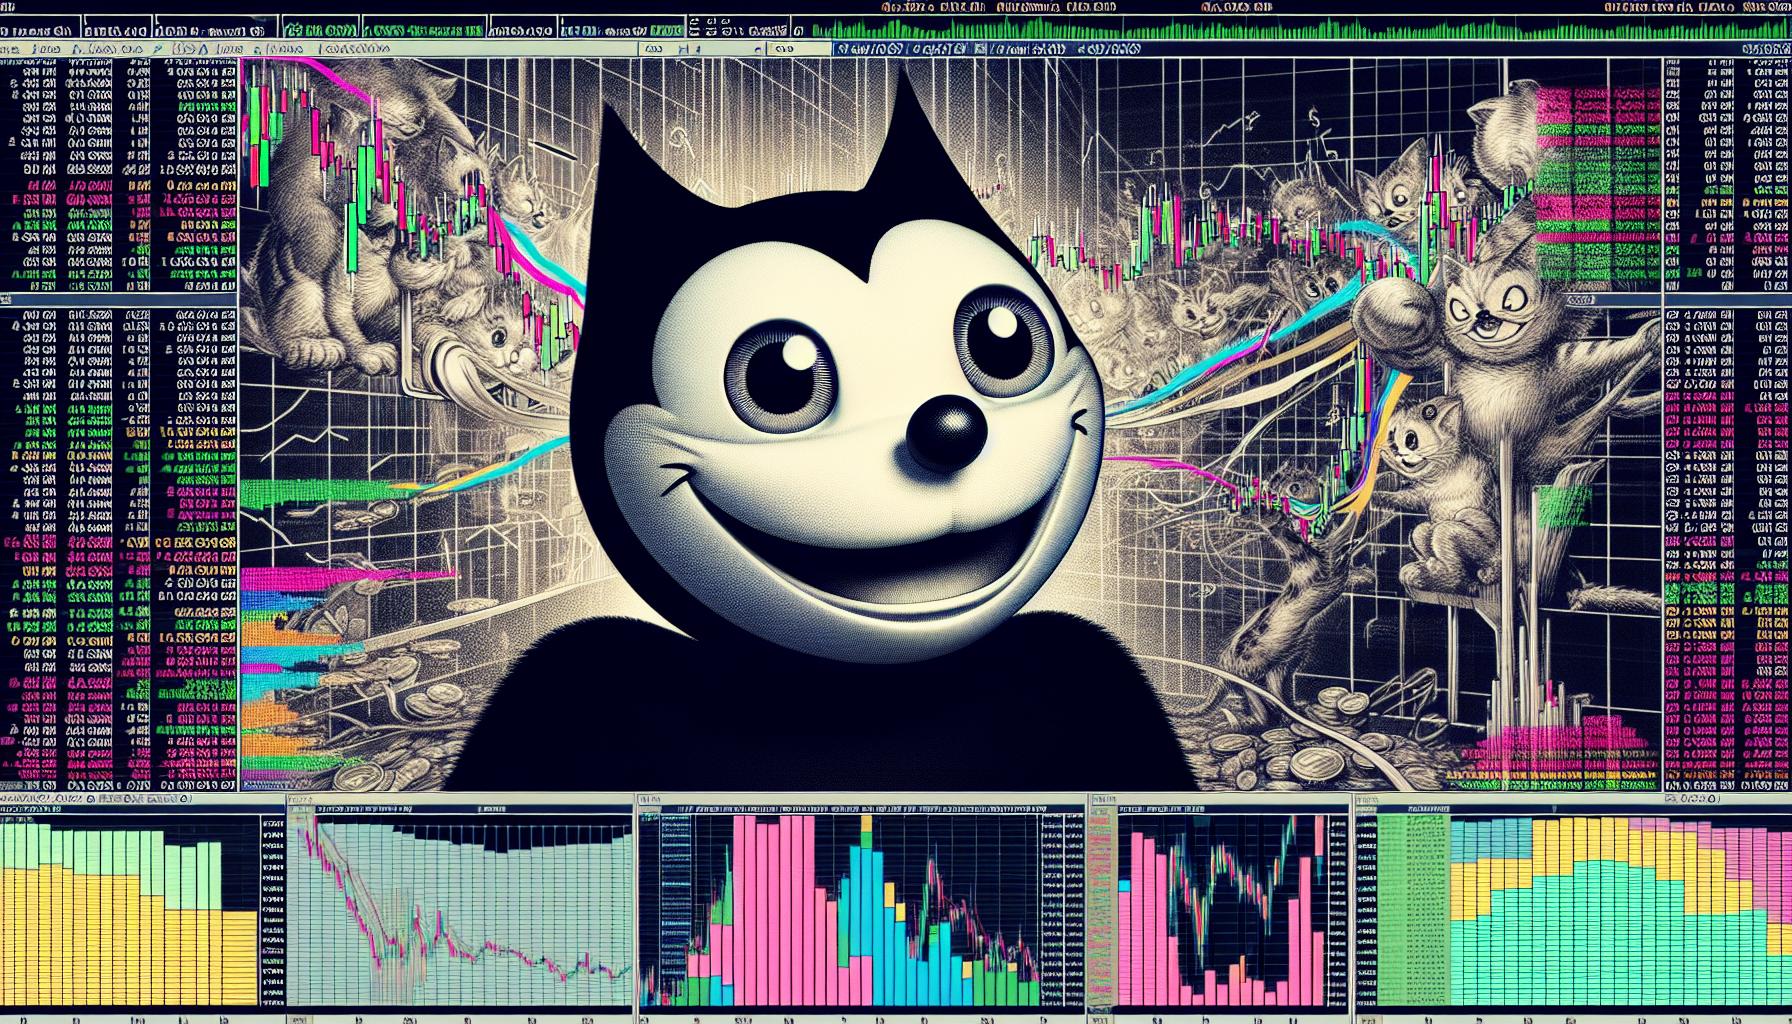
Simon's Cat (CAT) Price Prediction: 2024-2025 Growth Analysis
Jun 27, 2026
Data & Cloud Infrastructure
The storage backbone behind our crypto insights.
Block Storage
Low-latency volumes for high-frequency market data.
Object Storage
Scalable archives for on-chain datasets.
File System
Shared research workspaces for analysts.
Offline Migration
Bulk transfer historical price data securely.
"Windrush gives me crypto data I can actually act on."
— Lois K. Stiller